
Start with Photoshop software
To get started with Photoshop, you first need to familiarize yourself with the Photoshop environment.
introduction
Photoshop is a graphics processor developed by Adobe. The main task of this software is photo editing and editing, which can be used to make many and varied changes with the features available in the photos.
In Photoshop, you have a variety of ways to do a task. It is up to you which method to use to achieve your goal in less time and with better quality.
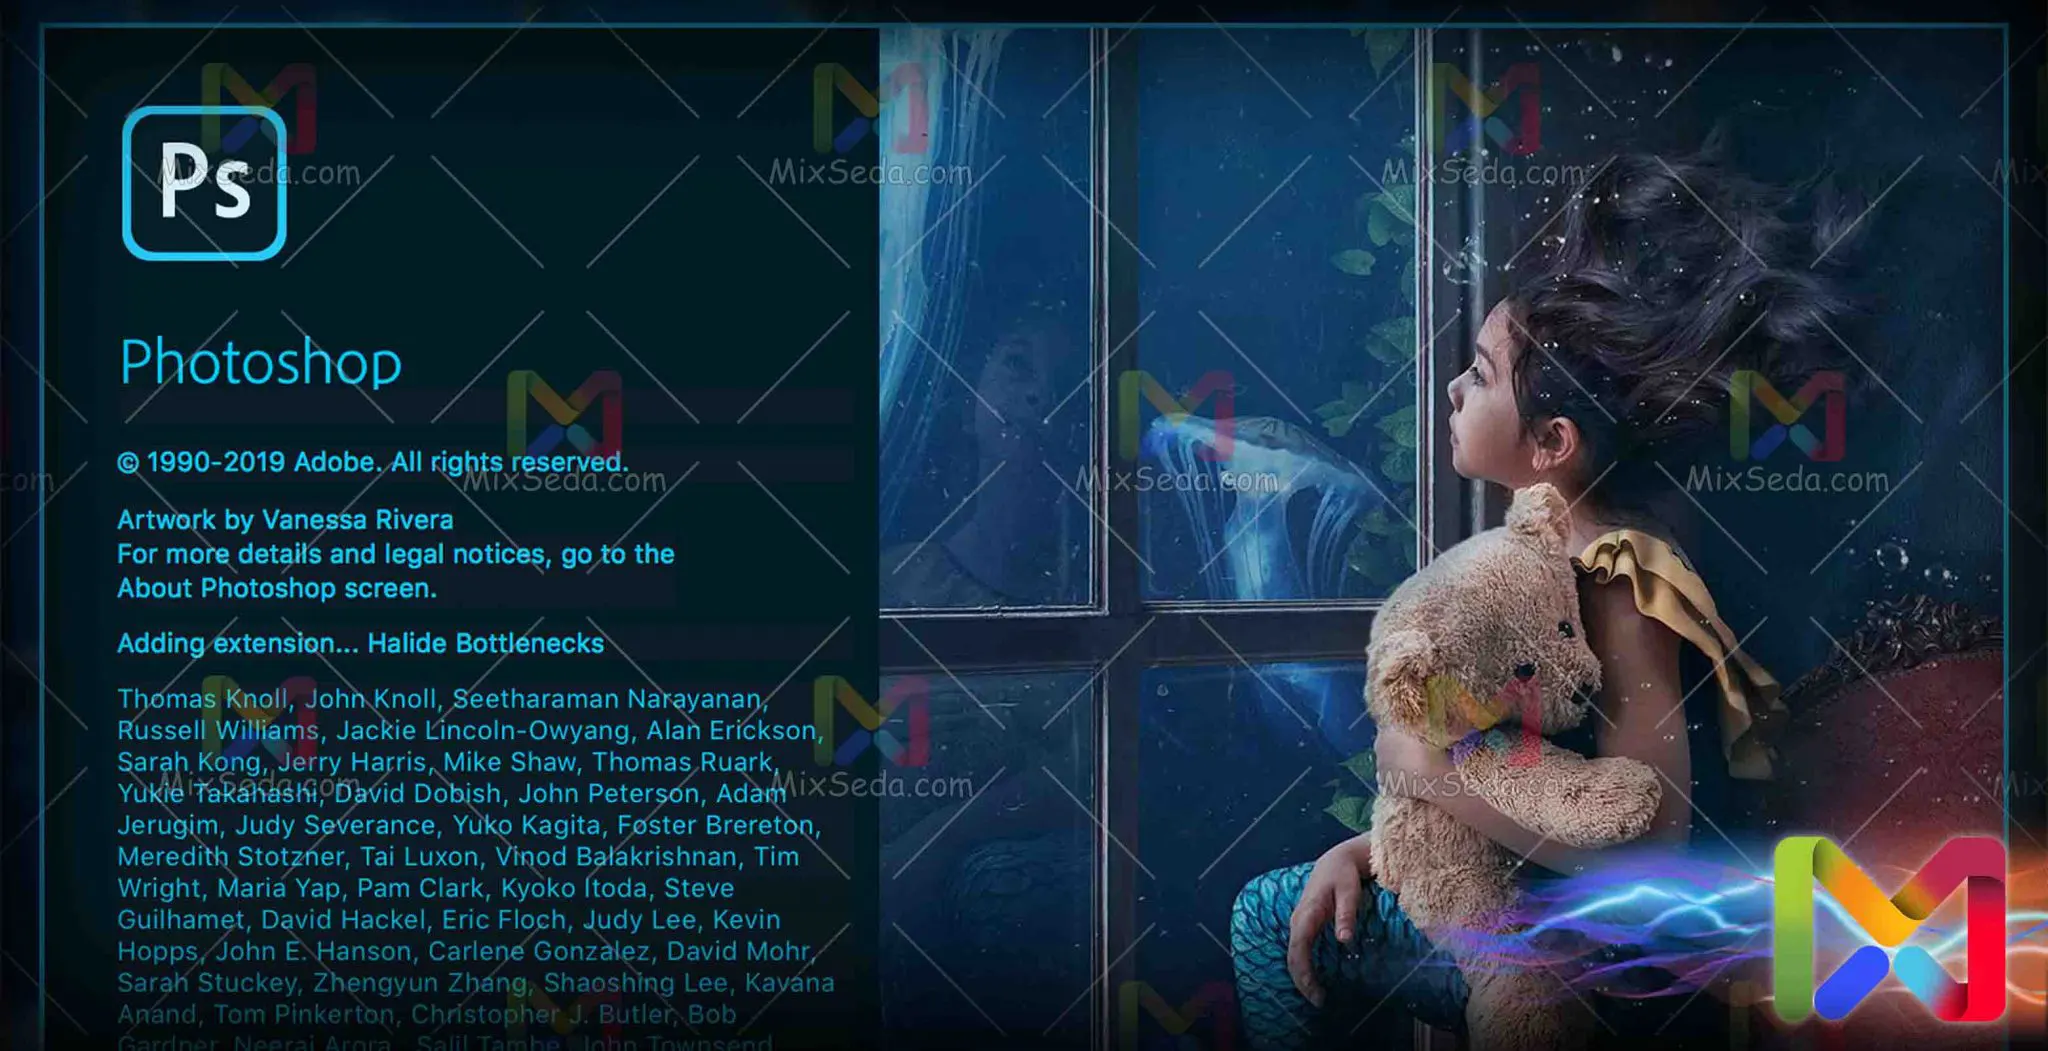
The latest official stable version of the software is the 21st version, released in April 2020, known as Adobe Photoshop "CC 2020". Of course, the 2021 version of Adobe software has just been released now.
You need to know that this version has already been released on a trial basis. This release does not cover all Adobe software and is currently limited to a limited number of software.
Do not assume that you will lose or lag behind if you install the 2020 version. In every update from Adobe companies; Users experience very small changes. So that some users don't notice these changes at first glance.
I assure you that users who have worked with older versions of Adobe can easily work with newer versions. Finally, in some updates, one or two tools have been added to the software, which are very easy to work with.
I assure you that if you fully learn these tutorials, you can easily connect with the newest versions. In order to work with Photoshop software, you must first be familiar with the working environment of this software.
Working with Photoshop
The first thing you need to know when learning software is the work environment. Almost all Adobe software is designed to be very sophisticated and incomprehensible.
The Photoshop workspace includes menus, toolbars, and panels that allow quick access to a variety of tools and options for editing and adding elements to an image.
Create a new project
Well, let's go step by step. After opening Adobe Photoshop software, you may encounter two modes. In new versions of this program, after opening the software, you will encounter the New Document creation page.
In some versions you will see a dark page which you can select "New" from the "File" menu. In this case, a window will open in which to enter the details of the new project.
Hot key
In many graphics software such as Photoshop, Premier, After Effects, AutoCAD and ... we encounter a concept called "hot key". This means that there is a key combination for almost everything we do with the mouse.
During the tutorials, I will explain the key combinations for each activity as needed.
You may also be wondering why we should use these hotkeys?
First, using these keys will speed up your work. Secondly, when you go to work for a company, it's not very interesting to use a mouse.
If I want to explain myself better, the principles of professional work are defined with the keyboard and not with the mouse. If you want to show your work, working with a keyboard is definitely more powerful than a mouse.
Thirdly, I myself prefer to work with the mouse rather than the keyboard, so work as you feel comfortable. Well, back to our main topic, which was "creating a new project".
You can use the key combination "Ctrl + N" to open the "New Document" page. After opening this page, you will see the following image.

You will need several things to create a new document, each of which I will describe below.
Width: length of the page
Height: width of the page
Orientation: The page is vertical or horizontal
Artboards - I'll explain this option in the future
Resolution: pixel density, or in a simpler sense, quality
Color Mode: The color structure of the document
Background Contents: Default background color
Length
Determine the length of the page you want to work on. Next to this option there is a drop down menu where you can select your drive.
For example, you can choose pixel length units, centimeters, inches and ... It is important to note that everything you select for the longitudinal unit is also selected for the transverse unit.
Height
Specify the width of the page you want to work on.
Orientation
All you need to do is set the screen vertically or horizontally. As a beginner, you might type the latitude and longitude numbers incorrectly, in which case you can rotate the page with one click.
Sometimes professionals need to work on a project vertically and horizontally.
Resolution
This article is one of the most important elements of quality work. In general, the quality of digital products is measured by a unit called resolution. If you've just bought a new TV, monitor, or phone, you must have heard the word resolution.
Resolution actually determines the pixel density of your work. That is, you determine; Each square unit of your page should contain a few pixels. To be more specific, you specify how many color codes each square inch or square centimeter contains.
This number varies depending on the object you are creating a project for. So, if you are offered a project, ask the employer or a consultant for the final resolution of the job. One thing that many people, myself included, do is choose a high resolution of the job,
Finally, I adjust the output to a lower quality. In newer versions of Photoshop, you don't need to learn these numbers a lot. Photoshop itself saves a series of numbers and resolutions by default.
For example, if you want to create a web graphic design, select the "Web" option at the top of the "New Document" window. Then, based on the size of the object, select an option from the bottom and then click "Create".
In the table below, I have written some resolutions for graphic works for you:
| ردیف | نوع پروژه و کار گزافیکی | Resolution |
|---|---|---|
| 1 | طراحي هاي چاپ افست | 300DPI |
| 2 | طراحي براي چاپ بنر و پلات | 100-170DPI |
| 3 | طراحي براي سايت و اينترنت | 72DPI |
Since there is a lot of discussion about this, I will address this in a separate article.
Color mode
Well, this article is a world of debate. What Rajab needs to know now is that each color we see has a specific structure. LED TVs, for example, are made up of a series of tiny LED bulbs.
Each of these lamps acts like a pixel. In these lamps, all colors consist of three colors: red (red), green (green), blue (blue). If we put the first letters of these three colors next to each other, we will get the word "RGB".
This means that in the "RGB" color spectrum, all screen colors are made up of a combination of the three colors above. We have different color spectra, each with different uses.
For example, the "CMYK" color spectrum is used for some prints. I will try to explain the meaning and concept of color spectra in future articles. In the work you will be able to convert your project to another color spectrum and thus output.
In front of the color spectrum, there is a drop-down menu through which you can change the bit rate of the color spectrum. This means that if you increase this number, you will have more colors.
As the bit rate of each color code increases, more color codes are formed. (The computer recognizes each color with a code.) Newer versions also have a section called "Advanced Options".
I suggest you do not touch the defaults of this section if you are a beginner. Clicking "Create" will open the desktop in Photoshop.
Photoshop environment
The Photoshop workspace consists of seven main sections:
Menu bar
Options bar
Instrument panel
Work spaces menu
Panels
Well, here are some tips.
First, these divisions were done by me and you may find tutorials discussing the Photoshop environment in more detail. Second, some of your tools may not be available in Photoshop.
For example, when I installed the 2020 version on my computer, there was no "Timeline" option. While in previous updates, next to the "Mini Bridge Card" option, there was a "Timeline" option.
Well, you don't need a "Timeline" to get started with Photoshop.
Menu bar
In almost all graphics software there is a bar at the top of the software. This bar, located at the top of the software, is called the "Menu Bar". As far as I can remember, "Menu Bar" is a drop-down menu in all applications.
The "menu bar" also has a number of items and subcategories. I will briefly explain each of them.

File
This menu is available on most software.
In Photoshop, you can do the following via this menu:
Open a new project
Create a new project
Get the project output in different formats
Sharing the project
Close the project
Print the project
Add a description of the Rajab project
AND…
Change
The applications of this section are very numerous. Some of these activities include the following.
Back to work done (Undo and Redo)
Copy and paste
Color settings
Access the "Preferences" section.
Research
clean
AND…
The uses of the "Preferences" section are so wide that I'll have to explain it separately in another article.
Image
Through this section, you will be able to change the color spectrum of the image and the amount of bits of the image color code. Other features of this section are project resizing and image resolution.
This section has other features that you will be familiar with in the future.
Layer
Photoshop is one of the software that allows you to create your project from different layers. In this section you can use and manage the features and tools related to image layers.
For example, you can create a new layer, group layers, copy layers and ...
Guy
This menu is for text settings and functions.
To select
In Photoshop you can select part of the frame and image. Various tools are available in this menu to select the desired section. For example, you can use this section to select what you haven't selected in the image.
Select a specific color code or night colors.
Filter
In Photoshop, you can apply a variety of filters to each layer or image. One of the uses of this menu is to apply filters to image layers.
3D
As the name suggests, this section is used for 3D creation tools.
Some of the features in this section include the following.
Create a three-dimensional layer
Panoramic settings
Combine two 3D layers with each other
Output from a 3D (3D) layer.
3D grouping
3D editing
3D printing (on 3D printers)
AND…
Visualization
As the name suggests, this section is related to the show. The most useful feature of this section is the zoom on the image.
Window
All Photoshop tools can be managed through this section. The arrangement of tools and projects that you have open at the same time in Photoshop can also be managed through this menu.
You can create a layout for yourself, selecting this layout will show only the tools you have selected. To select the desired layout, you can access the "Workspace" section via this menu.
Photoshop itself has a number of predefined layouts named after your activities. For example, for photography, you are provided with a layout with special tools.
You don't need a "Timeline" in your photo, so Photoshop doesn't enable it, and if it's enabled, it will disable it. I suggest activating only the tools you need.
Enabling all tools only clutters the desktop and can slow down the software on some computers.
Help
The "Help" section is used in most software to get help and manage the software version. In Photoshop software, in this section, you can manage your account or update your software version.
In this section, there is a description of the Rajab plugins and the software itself. Of course, we Iranians cannot use many of these capabilities because Iran is one of the software sanctions.
We Iranians (but not all Iranians) use more cracked and modified versions of the software. Attempting to link the software to an Adobe account or software update can disable the crack.
As a result, it can cause loss of software functionality.
Options bar

In Photoshop, each tool has a number of functions and settings. In fact, the "options bar" is the easiest way to access any of these tools. When you start working with Photoshop, many elements may be incomprehensible to you.
Don't worry, learning Photoshop is a lot easier than you think. Most of the tools have limited settings which are displayed in the "options bar".
But some tools also have more professional settings. Usually for these tools, the "Options Bar" contains only part of the functionality. And the full functionality can be changed in a new tap or in another panel.
Instrument panel

Getting started with Photoshop If you can't work with tools, it's like you don't know anything. Since in this article I just want to introduce Photoshop software, so I won't go into the tools for now.
In the next few articles I will fully explain the Photoshop tools. I would like to remind you of one thing. Photoshop isn't just single function software. Photoshop is a world, what I'm teaching you is how to work with it.
Photoshop is like a strategy game that, no matter how good you are, still has room to learn. To get started with Photoshop, you need to know that a graphic designer must be creative before they want to learn anything.
Basically, getting started with Photoshop takes creativity. In Photoshop, you can perform a single task in several ways. It's your creativity to choose how to get the job done in less time and with better quality.
Work spaces menu

As explained above, the "Workspaces menu" determines the arrangement of tools in the workplace. The icon for this section is located at the top right of the software and you can use it to set up the software for your user.
You can also access this section through the "Window" section of the "Menu Bar".
Panels

The applications in this section are very, very, very broad. So that at least I can't list specific and limited applications for it. The applications in the "Panels" section are not fixed and, by changing the "Working Spaces" space, some of their tools may change.
In my opinion, the most important parts of "Panels" include the following.
Histogram
Navigator
Libraries
Adjustments
Layers
Channels
Histogram
A "histogram" is a diagram that shows the relationship of colors in an image. If you select a part of the image using the selection tool,
The "histogram" shows a diagram of the same part of your project. If I want to explain more specifically, the histogram shows how much shadow, midtones and highlights are in the image.
Navigator
"Navigator" offers an overview of the project. It also indicates where you are currently swimming. If you don't see full screen, a red box will appear on the "Navigator" image.
This box indicates where you are editing. This feature may not be very interesting, but it is very useful for large and heavy projects.
Libraries
This section is one of the most interesting sections of the Adobe series in the new releases. Unfortunately, we are unable to access this section because we are using cracked versions.
If you are not using the cracked version, log into your Adobe account to enable this feature.
Adjustments
The whole section includes filters that you can apply to image layers.
Layers
It is one of the most important parts of the "Panels". In this section you can manage the levels that make up your project.
Channels
This section is for managing the color spectrum of your image creator. Depending on the color spectrum your project is made up of, you may be different in this area. You don't need to learn everything to get started with Photoshop.
My purpose in this article was simply to introduce the Photoshop workspace. In future tutorials on the MixSound site, I intend to fully explain the Photoshop software tutorial.
If you have any questions or issues with the content, please let us know in the comments. Click here to see more about Photoshop tutorials.