
Professional selection tool in Photoshop software
In this article, I want to explain Rajab, a professional selection tool in Photoshop software. You don't always have enough time to select the shape all around. In large shapes, selecting the shape around it also takes time for punctuation.
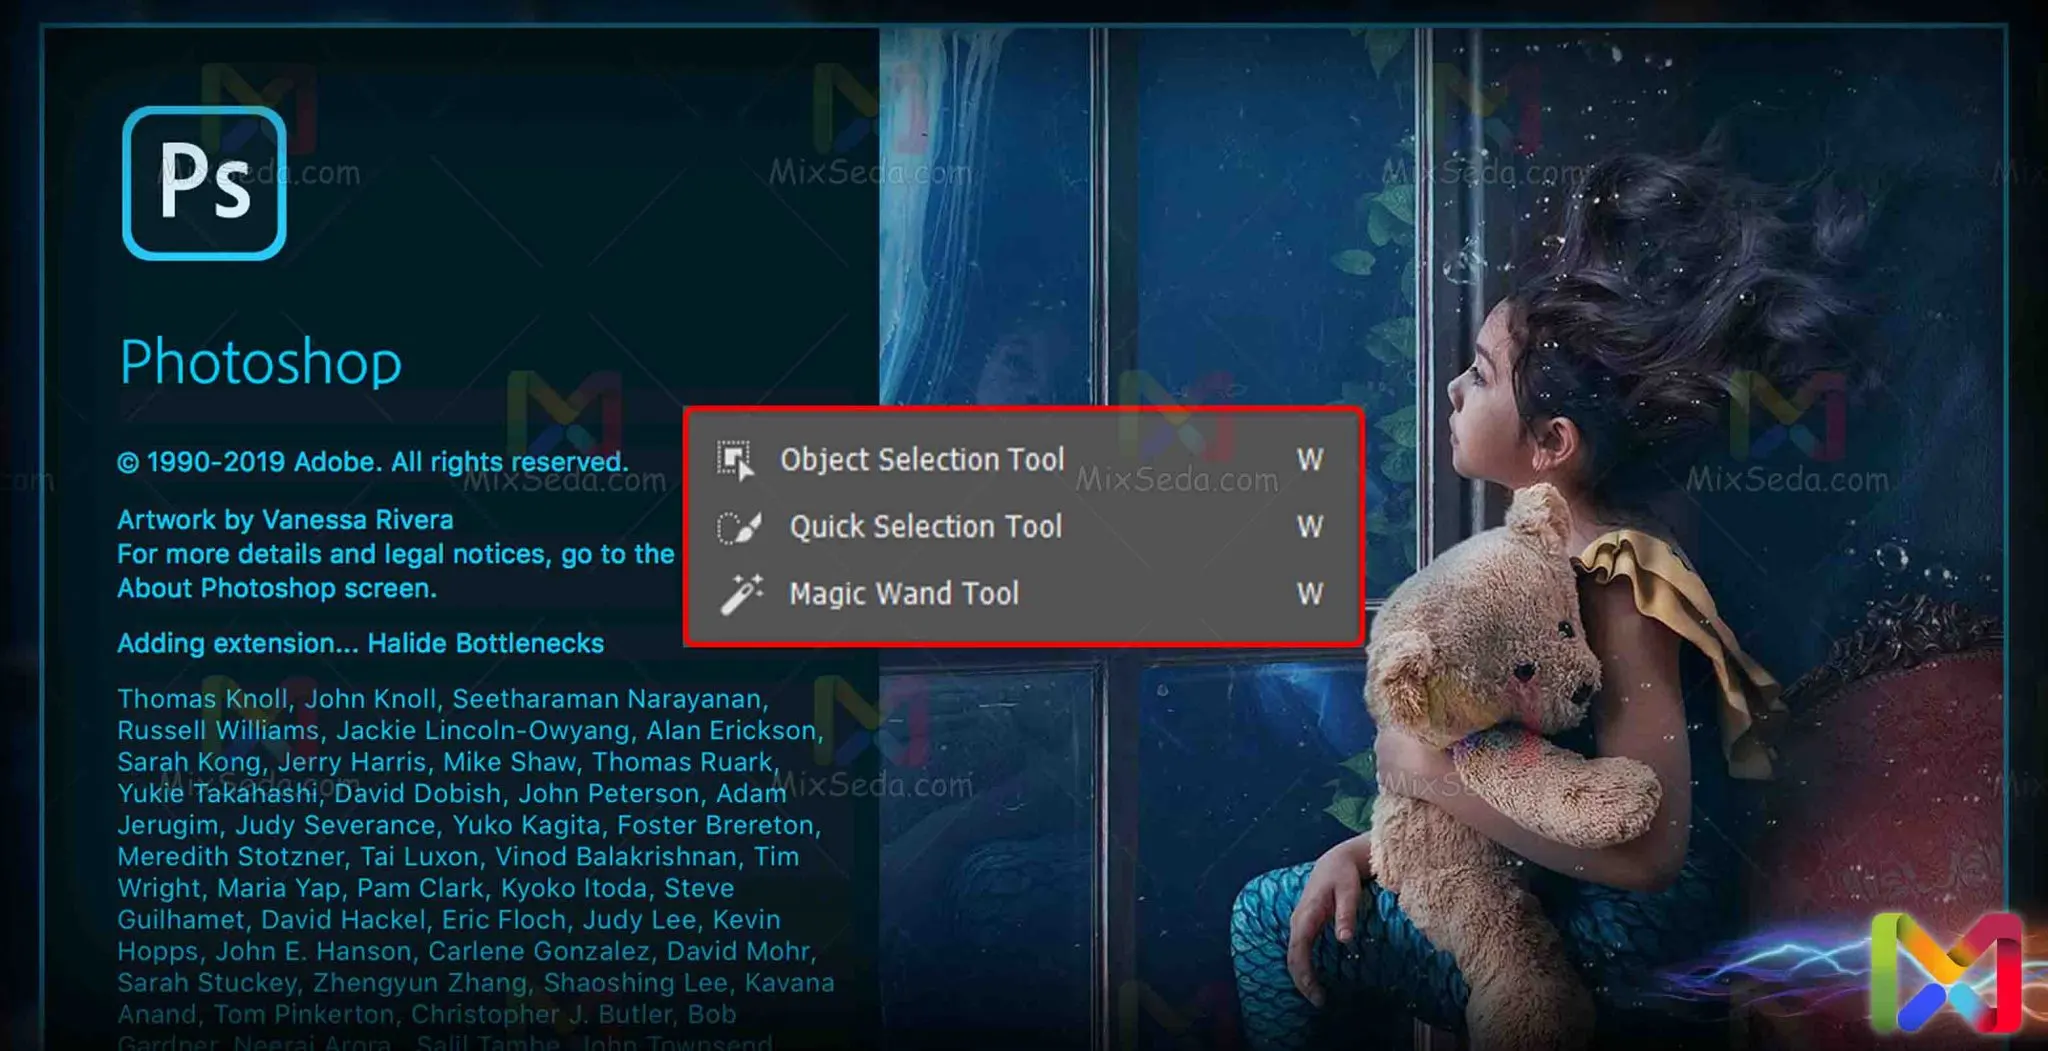
Ultimately, your selection may not be what you want it to be. To do this, you need precise, smart and fast tools. The keyboard shortcut for these tools is "W".
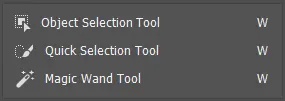
Object Selection Tool
This tool was added to the Photoshop software in the 2020 version. In fact, this tool is a combination of the two tools "Quick Selection Tool" and "Magic Wand Tool". By offering this tool, Adobe actually intends to save time.
This tool intelligently detects the background of the shape and sets the red limit, which we intend to minister, in fact this tool, after recognizing the background of the shape, removes the background from the whole shape.
As a result, the desired shape is selected by the Select software. To use this tool, just select the 200 of this tool and select the area where the yellow fog is visible, the area that is simply, where the spindle is, the spindle is, the spindle is, the spindle is the chuck, chuck is chuck, chuck is chuck Shake Shke Shke Shke Shke Shke Shke Shke Shke Endere
Given the way this tool works, it is very obvious that this tool knows the ism in images that have a crowded background. This is because due to the large number of colors in the background, the tool cannot keep the shape of the background lesson.
Object Selection Tool option bar
Well, for this tool in the "options bar" section, there are four modes, which include the following modes:
- new selection: this mode is the normal selection mode.
- add to selection: this tool adds a new area to the previous Select workbench.
- subtract from selection: this tool removes a new area from the previous Select environment.
- intersect with selection: this tool selects a new and an old selection area.
Since these elements are fully explained in the previous tools, I will not explain this any more. In the "options bar" there is a section called "Mode" which determines the type of selection. In this section you can select the following two modes:
Rectangle: rectangle selections
Lasso: manual selections
The "Lasso" option is actually the same as the "Lasso Tool" where you have to go around the shape with the mouse. If you hold down the "Alt" key when selecting "Lasso", the selection is "Polygonal".
This means that your choices will be dashed. In the "options bar" there is also an option called "Select object". You can make your choice with any of the Photoshop tools and then select this option.
After selecting this option, this tool deletes the background area.
Quick Selection Tool
This tool is very similar to the "Magic Wand Tool". In fact, the Quick Selection Tool is a professional version of the Magic Wand tool. In the "Magic Wand Tool" tool, you select by selecting a pixel.
In the "Quick Selection Tool" you can select the font and its size to select. How to work with this tool is very simple. You can select this tool from the "Tools" menu or call it with the "W" hotkey.
In the "options bar" section, you can select the size and characteristics of the desired brush (Brush). Then you can select the area you want. In large shapes with irregular edges, it may not be appropriate to use this tool.
Because it takes a lot of care and time and you can't do it easily. Note that if you select a part of a color's environment using this tool, the tool itself selects the entire area.
This is the use of the "Magic Wand Tool" which I will explain below. In the "Options bar" section of this tool, like other selection tools, you will encounter the following options:
- new selection: this mode is the normal selection mode.
- add to selection: this tool adds a new area to the previous Select workbench.
- subtract from selection: this tool removes a new area from the previous Select environment.
Since this tool is a smart selection tool, there is no "Intersect with Selection" option in the "Options Bar".
Magic Wand Tool
This tool is one of the most used professional selection tools in Photoshop for selection. This tool finds all similar colors on your project page and selects them.
This allows you to select pixels with similar colors. As I explained in previous articles, the meaning of each color to the computer is the same as a number.
The only difference with a number is that in addition to the numbers 0 to 9, the letters "A" to "F" have been added. I don't want to get into the discussion of colors and pixels, I will explain colors in future articles.
Just know that this tool works by reducing the number of colors to find similar colors. What makes this tool so popular is that you can tell the difference between the colors yourself.
As far as I can remember, this tool is the fastest tool for same color selections. Of course, there are a few points to using this tool:
- This tool is not suitable for low quality images.
- This tool does not work well in images that have a lot of colors.
- The setting of this tool is different for each shape and there is no fixed setting for it.
- Circle selections with this tool reduce the sharpness of the image
- If you want to remove a color from the image, use the "Color Gamut" tool as much as possible.
Magic Wand Tool option bar
selection
In the "options bar" section of this tool, like other tools, there are the following items:
- new selection: select normally
- add to selection: adds a new environment to the selected environment (Select)
- subtract from selection: subtracts a new environment from the previous Select environment
- intersect with selection: select the sharing space of the two selected areas (Select)
Sample Size
Below is a drop-down menu asking you to select the sample size. There are several options in the Sample Size drop-down menu.
As I'm writing this beginner tutorial, I don't intend to explain it right now. Just know that the greater the number, the greater the sample space.
This means that the accuracy of your instrument is minimal, because the greater the gap, the less accurate it is. This means that if you set the sample size to 101, your instrument will have the least accuracy.
And if you put this article on "Sample Point", the accuracy of your instrument is as high as possible.
Tolerance
In the next section you will find an item called "Tolerance". In this section you will determine how different the selected area is from other areas. In other words, any area that is so different from the selected area is selected.
This is the concept of color difference in Photoshop. The lower the number, the smaller the difference and the less the selected colors differ from the sample environment.
And the larger this number, the greater the color difference and the greater the color difference the sample area has with the selected area. In the "options bar" section, there are three options, which include the following:
- Anti-aliased: Enable this option to select circles.
- Contiguous: Selects only contiguous areas when illuminated.
- Sample All Layers: considers all layers in the selected area
Anti-alias
If this option is deactivated, the circular selections are selected step by step. Therefore, if you want to select a circle, it is better to enable this option.
In fact, enabling this option reduces some accuracy. As a result, the tool also considers the other colors next to a selected circle.
Contiguous
If this option is active, only this tool will be applied to a part of the project. It is effectively applied to interconnected environments and the selected area can be separated by a boundary.
If this option is disabled, the selected environment of this tool will be examined over the entire figure. For example, suppose you disable this option and select a red pixel.
In this case, all the red pixels are selected. But if this option is enabled, only red pixels attached to the same area will be selected.
Sample All Layers
In Photoshop, layers below and above a layer can affect the colors of a layer. If this option is enabled, the software will treat all layers as one layer.
Just as you combine different levels first and then work on them. If this option is disabled, the software will only consider the selected level. And it examines and analyzes the pixels of the same layer.
Well, we've come to the part where we talk about the middle ground. I hope this content was useful to you. Let us know if you have any questions or concerns about Photoshop Professional's selection tools.